20 Ways to Magically Light Your Home at Christmas (that aren’t a tree)

What types of lights are available?

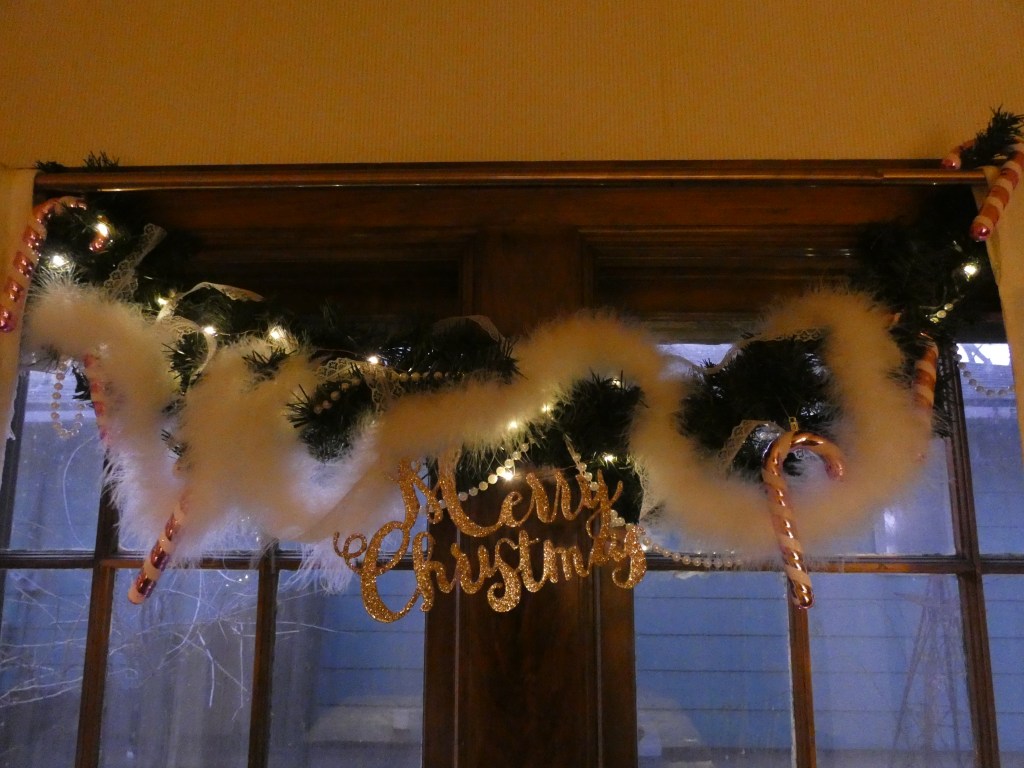
  • Battery-Operated Metallic String Lights. These are ideal for installations where plug-in lights would be impossible or unsightly. They automatically come on at the same time every day and stay lit for six hours. This means that you can use them almost anywhere AND the battery will last a few weeks. If you buy rechargeable batteries and a charger, you can save money over time.
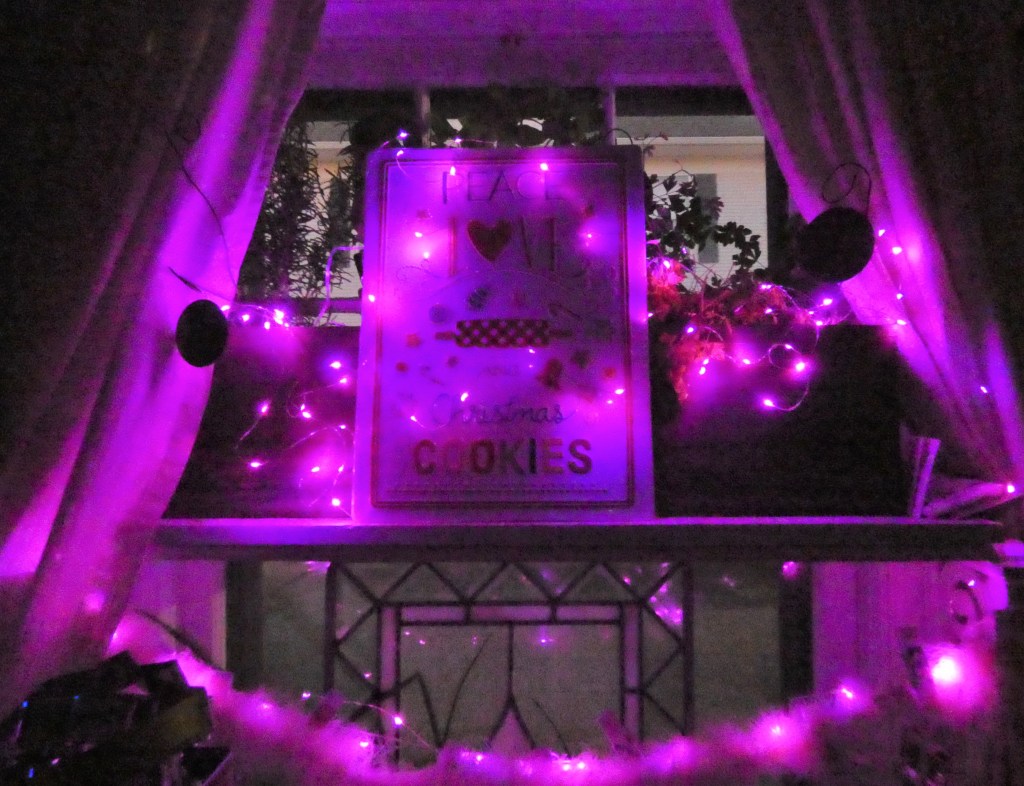
  • “Outdoor” Solar Lights. These lights work well near a window so the solar panel can be placed against the window pane. They even come in colors such as pink!
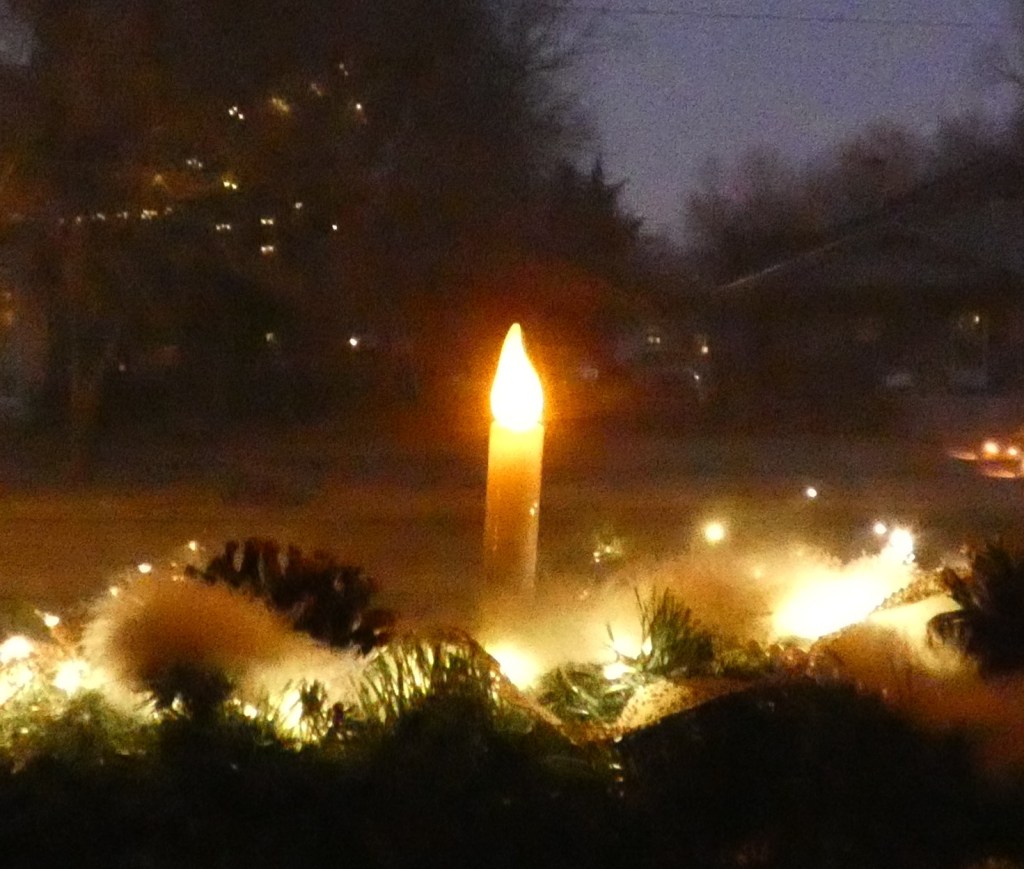
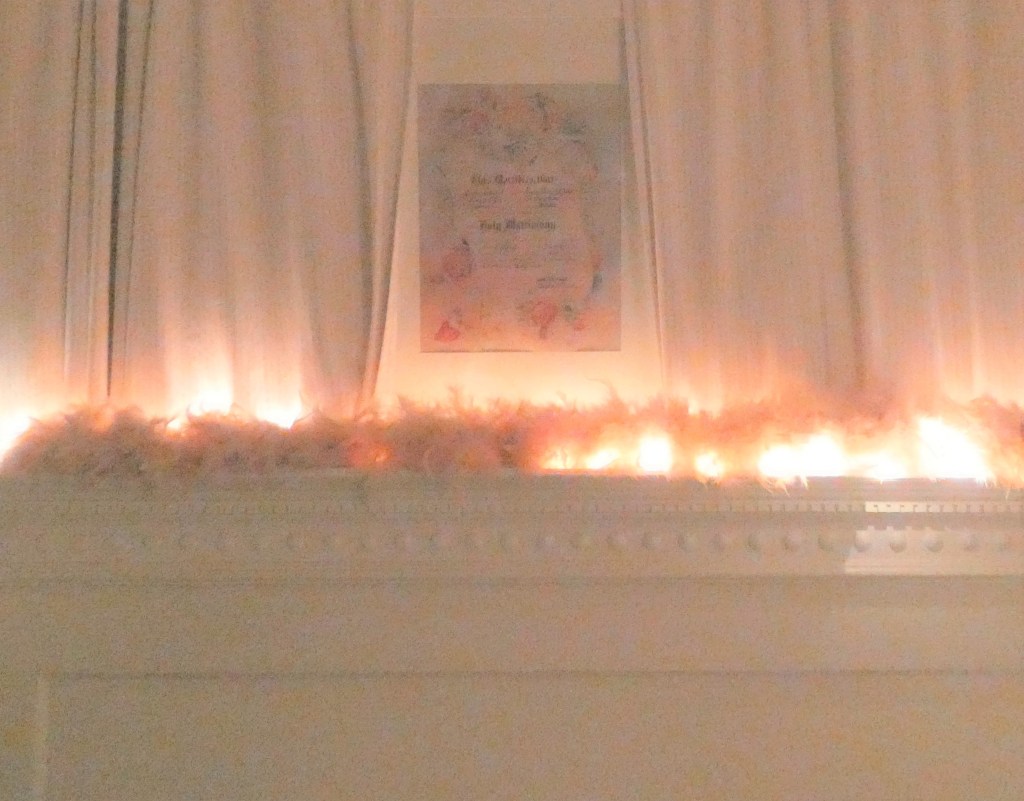
  • Battery-Operated Candle Lights. These lights have a sensor which detects outdoor light. This allows them to automatically come on at dusk and stay on for many hours afterwards. This means the batteries last between Thanksgiving and New Years without replacing.
  • Wired Lights. These work well when an outlet is nearby and the lights can be installed without the cord showing.
Glass Vase. These battery-operated metallic string lights intertwine with antique mercury glass ornaments in a large glass vase.
Domed Cake Stand. These battery-operated metallic string lights and boa surround a vignette placed on a cake stand and topped with a glass cloche. The vignette includes a house from World Market and bottle brush tree such as these.
Ornaments in a bowl. Here, battery-operated metallic string lights intertwine with antique ornaments and boa in a large decorative bowl.
Shadow box. To create this shadow box, a Christmas saying was designed, printed and matted to serve as the backing. A crescent moon was hung and some favorite miniatures: a Corvette, an Airstream trailer , and bottle brush trees similar to these, were placed in the bottom, along with some fake snow.
Wreaths. Wreaths are ideal for battery-operated metallic string lights since no unsightly cords will hang below.
Centerpiece. These battery-operated metallic string lights twist around garland, pearls, lace and a boa surrounding candelabras with pink candles.
Chandelier. Battery-operated metallic string lights are ideal for a chandelier Add ornaments, boa and pearls for extra interest. Garland and lace could also work well.
Indoor Plants. Pink solar lights intertwine with herbs planted in a rustic wooden planter on a kitchen windowsill.
Behind a Fireplace Screen. These wired lights are hung behind a stained glass fireplace screen. Please see our tutorial on how to create this screen.
Gingerbread House. Battery-operated metallic string lights are used both inside and surrounding a gingerbread house. For tips on creating this house, please see this post
Christmas Card Display. These battery-operated metallic string lights surround an entry closet door. Decorative clothespins are used to attach Christmas cards as they arrive. The center of the door features an antique card sent by the original owner of the home.
Candle Lights in Windows. These Battery-Operated Candle Lights conserve energy through the light sensor. The candle is surrounded with garland, wire lights, pearls, lace, and a boa. Above the candle lights hangs a crystal snowflake ornament.
Atop a Mantle. These battery-operated metallic string lights illuminate a collection of vintage Santas amongst garland, lace, pearls, and boas. Other decorations include a Santa advent calendar, ivory stockings, and round ornaments placed on candlestick holders.
China Cabinet. These battery-operated metallic string lights help to illuminate Bavarian china, though the glass front of a china cabinet. An ornament hangs on the door.
Garland. Garlands can be created from tree decorations and hung above windows and mirrors. With battery-operated metallic string lights there is no need to be near an outlet.
Front of a Shelf. These battery-operated metallic string lights illuminate a yard-long print and a boa.
Plate Display Rack. Battery-operated metallic string lights front a plant display rack decorated with vintage Santa figurines, boas, and Bavarian china dishes
Bathroom window. “Outdoor” Solar Lights are ideal to surround a bathroom window even indoors since wired lights would be unsafe above a bathtub. These lights are relaxing for warm winter bubble baths. A glittery miniature tree sits in the copper tray on the windowsill. In the spring, seeds will be planted here.
Atop an Armoire. These battery-operated metallic string lights draw attention to the framed Christmas tree created with ornaments.
Headboard. These wired lights pair with a pink boa above a headboard. To learn how to create this headboard, please see this tutorial.


Some posts on this site include affiliate links. If you click on a link and make a purchase, we may earn a small commission at no extra cost to you. This commission allows us to avoid banner ads and popups. Please know that the opinions expressed are entirely our own.

Some posts on this site include affiliate links. If you click on a link and make a purchase, we may earn a small commission at no extra cost to you. Please know that the opinions expressed are entirely our own.

Layering Details for a Magical Gingerbread House

I have been wanting to build a gingerbread house for literally decades. I decided this was the year. I absolutely underestimated the amount of work, but I ended up being pleased with the final product. I think the key to creating a house that I love was layering inexpensive decorations, mostly purchased from dollar stores and Wal-mart. Let me share with you some specific details and also let you know where I purchased many of the decorations

The house features pink swirl lollipops on either corner of the house. The pastel marshmallows line the roof’s edge. Royal icing is highlighted with dragees in many places. Chocolate sugar wafers form the front stairs.

Where did you find the _____?

Some posts on this site include affiliate links. If you click on a link and make a purchase, we may earn a small commission at no extra cost to you. Please know that the opinions expressed are entirely our own.

Making a Door and Mantel Headboard

How to make a headboard from a door and mantel

A while back, I started looking at headboards and fell in love with one that I saw on the Pottery Barn website.  Unfortunately, it was more than I could afford, but I realized that it might be possible to make something similar by attaching a fireplace mantel to an old door that used to be in our old house.  Making headboards out of doors is fairly common, but I used to be hesitant just because I typically thought they looked very much like doors.  By combining a mantel with the door, this problem is diminished.

P1000343

If you are handy, you could make your own mantel, but I am not that handy, so I purchased one from Santa Clara Studio on Etsy.  I requested a custom size and they were happy to accomodate this request.  I specified the dimensions of the door because I wanted the mantel to fit over the door, making it easy to attach.  If you are interested in buying the exact same mantel, here is a listing of the one I asked to be customized to my specifictions:

White Distressed Wall Shelf with Dentil Crown Molding and Wooden Domes – Fireplace Mantel

I think it was also important that it is a mantel installed using a French cleat.  This meant that there was a hollow space behind the shelf where it was easy to install the shelf over the door using a series of L-brackets.

IMG_4070

P1000353 (2)

In addition to screwing the mantel onto the door, it was also necessary to add some boards at the bottom to elevate the headboard and provide a place to secure the headboard to the bed frame.

Once the headboard was secured to the bed frame, it was time for the fun part, decorating the bed!  I used my old Laura Ashley bedding that I have owned since the 1980s.  It has been a long time, but I still love it!

P1000347 (2)

P1000341 (2)

I also added some throw pillows, including a personalized pillow that I also purchased on Etsy.

P1000350

Happy Decorating!

Some posts on this site include affiliate links. If you click on a link and make a purchase, we may earn a small commission at no extra cost to you. Please know that the opinions expressed are entirely our own.

Creating a Decorative English Fireplace

Create a Decorative English Fireplace
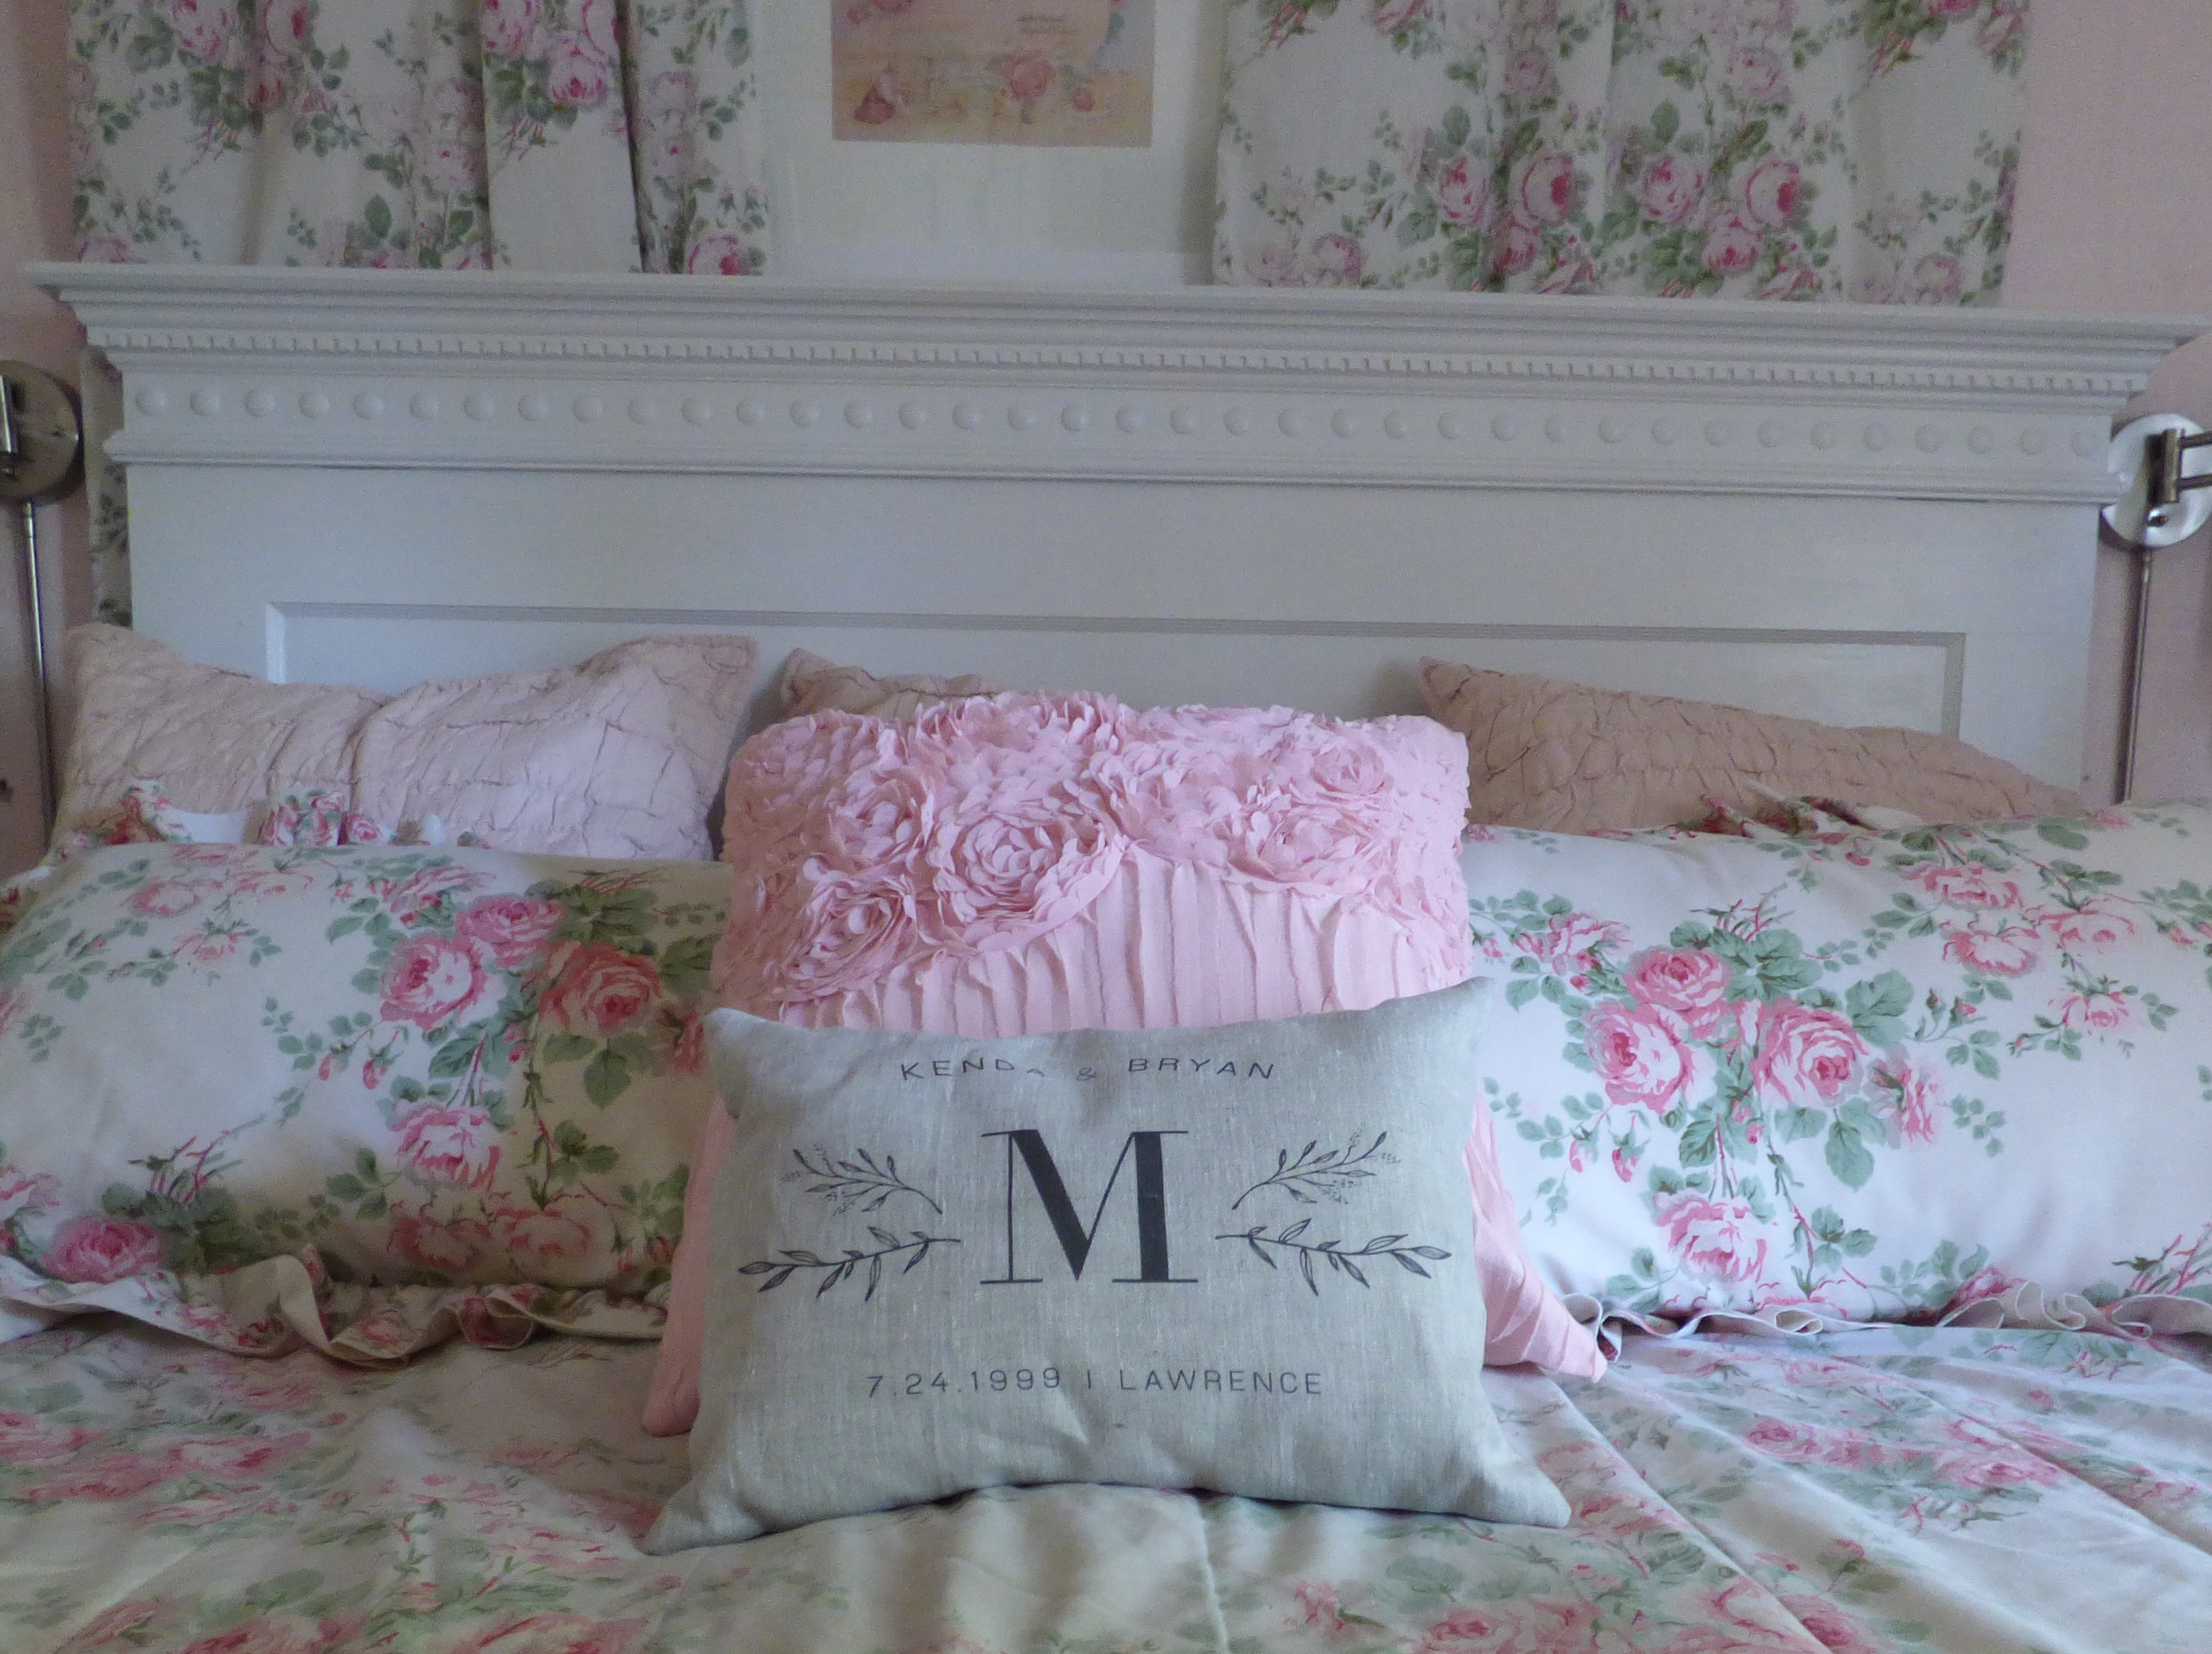
Living in an old Tudor, I have a special affinity for English decorative elements and I cannot think of anything more English than a cast iron Victorian fireplace in a bedroom.  Unfortunately, these are not easily found in the United States.  The ones I did find cost around $1,000, definitely not in my budget!  Fortunately, I was able to assemble a similar faux fireplace at a greatly reduced cost.  Although we cannot heat the bedroom with this fireplace, it does add decorative warmth and ambiance to our space.

I started by stalking Ebay until I found an antique cast iron fireplace surround for just under $150, this was by far the greatest expense.  I could have purchased one even less expensively if I hadn’t had my heart set on an arched fireplace.  Once I had the surround, I could determine the measurements of the rest of my materials.  I was working with a very narrow space, be sure to adjust all measurements to work with your available space.

Supplies

Cast iron fireplace surround

Picture wire strong enough to hang the surround

Tin ceiling tile or another material to hang behind the surround

Thin lumber cut to the width of the surround

2” thick lumber cut to the width of the surround. to serve as the mantel

2” thick lumber cut larger than the bottom of the surround. to serve as the hearth

4 x 4” post for beneath the hearth

12 x 36” marble tile to sit on the floor

2 thick corbels

1 piece decorative moulding

Glue

Screws

Spray paint

Paint for wood

Sandpaper

Supplies for English bedroom fireplace

Steps

  1. Cut all lumber to size
  2. Glue the moulding to the thin lumber backing.  close up of ornament
  3. Sand, wipe away dust, and paint all wooden materials.
  4. Spray paint the iron surround.
  5. Glue the 2″ hearth on the 4 x 4 lumber.
  6. Attach the tin ceiling tile or other backing to the wall with screws.
  7. Place the marble tile, 4 x 4 lumber and 2″ hearth in the desired position.Hearth of a marble tile, a 4 x 4 post and 2 inch thick lumber
  8. Hang the surround so that it will just rest on the hearth materials.
  9. Screw the thin lumber above the surround, hiding the screws behind the corbels
  10. Hang the corbels on the thin lumber backingclose up of mantel
  11. Glue the 2″ mantel on the corbels, making sure the mantel is pushed back against the wallside view of mantel
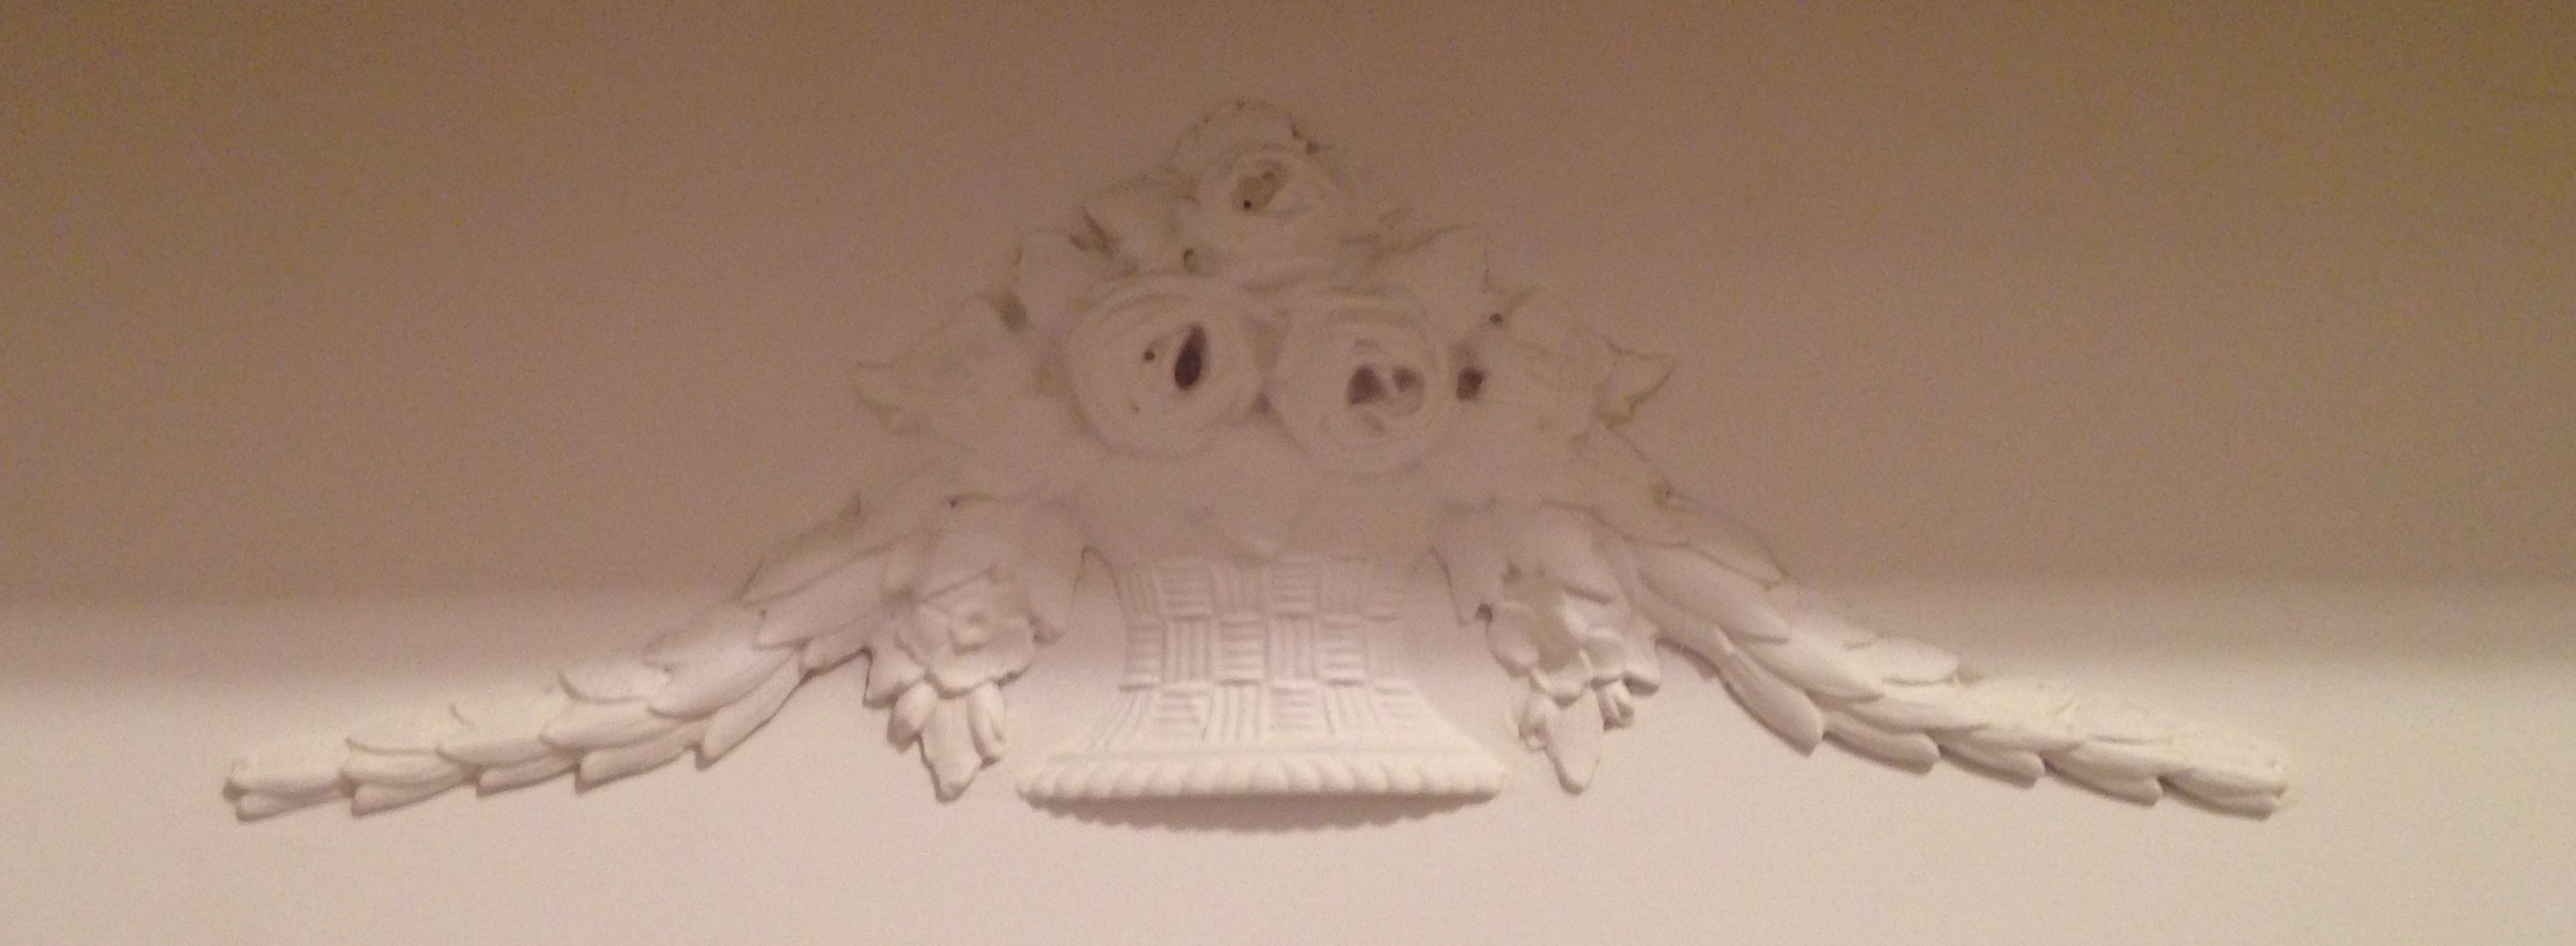
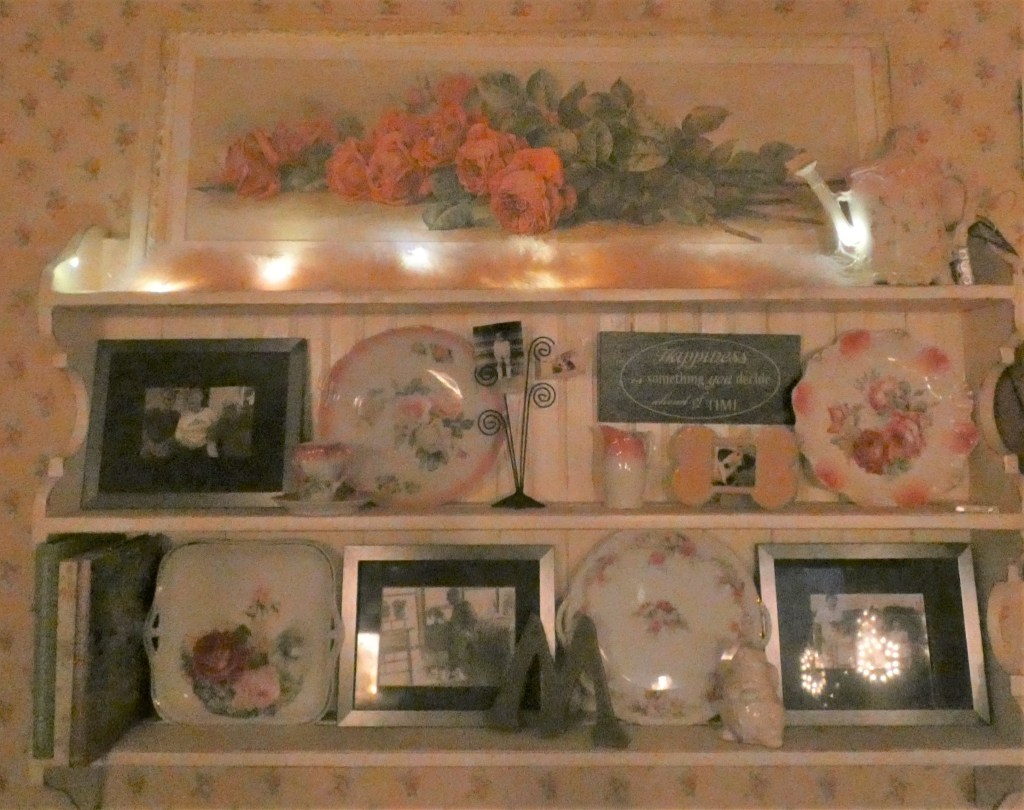
Once your fireplace has been assembled, you can decorate the inside with logs, a fireplace screen, Christmas lights, or candles.  The mantle can be decorated with a vase, clock, candles, books, lamps, pictures, or sculptures.

Happy Decorating!

Some posts on this site include affiliate links. If you click on a link and make a purchase, we may earn a small commission at no extra cost to you. Please know that the opinions expressed are entirely our own.

Create a Useful Dining Centerpiece

1[1]

I have a minor obsession with centerpieces.  Over the years, I have tried one thing after another, never satisfied with my efforts.  I guess it is important to me because centerpieces are usually the focal point of any dining room, so I want ours to make a statement.  Unfortunately, sometimes that statement was, “I am too tall to have a conversation over” or “I am really easy to knock over”.  More than once it turned out to be, “I looked good on Pinterest, but I don’t work in real life”.  Even when a centerpiece was attractive, the look was always marred by the practical items that needed to stay on the table for meals.  Finally, it occurred to me–why not make those functional items into one centerpiece?  Doing so had the added benefit of allowing us to stop moving items to and from the table every day.

There are many possibilities for a container in which to place your centerpiece items.  The one that I pictured here is technically a condiment server, that is no longer available, but I have also used this copper plant tray.  When I was looking for just the right item, I looked at condiment servers, trough planters, utensil caddies and, wooden toolboxes.  In addition to Amazon, Etsy and Ebay have some great options.

The item that I eventually bought is 18″ long, which allows space for me to place food on either end when we eat.  If you have a long table, you might go as long as 24″ or possibly longer.  As you can see, mine is divided into sections, but I am not sure that I would choose a sectioned centerpiece again unless the sections were at least 7-8 inches wide.  This would have allowed the trivets to fit in without angling them.  Also pay attention to the height of the items that you want to put in there.  These sections are 4″ deep and my salt and pepper shakers are just barely tall enough to easily access.  If you use a shallower container, you might use jelly jars or other containers to hold items upright.

The items to put in your centerpiece depend entirely on what you typically need at the table.  For us, that meant napkins, trivets, salt & pepper shakers, silverware, and the pink-striped tea towels that we use as place mats.  You could also consider other condiments than do not require refrigeration.  Another possibility would be placing all of your serving spoons in your centerpiece.

I hope that you are inspired to design your own useful centerpiece.  Happy Decorating!

Some posts on this site include affiliate links. If you click on a link and make a purchase, we may earn a small commission at no extra cost to you. Please know that the opinions expressed are entirely our own.

Make a Fireplace Screen from a Stained Glass Window

Make a Fireplace Screen from a Stained Glass Window.  Photos and a printable with materials and instructions are included.
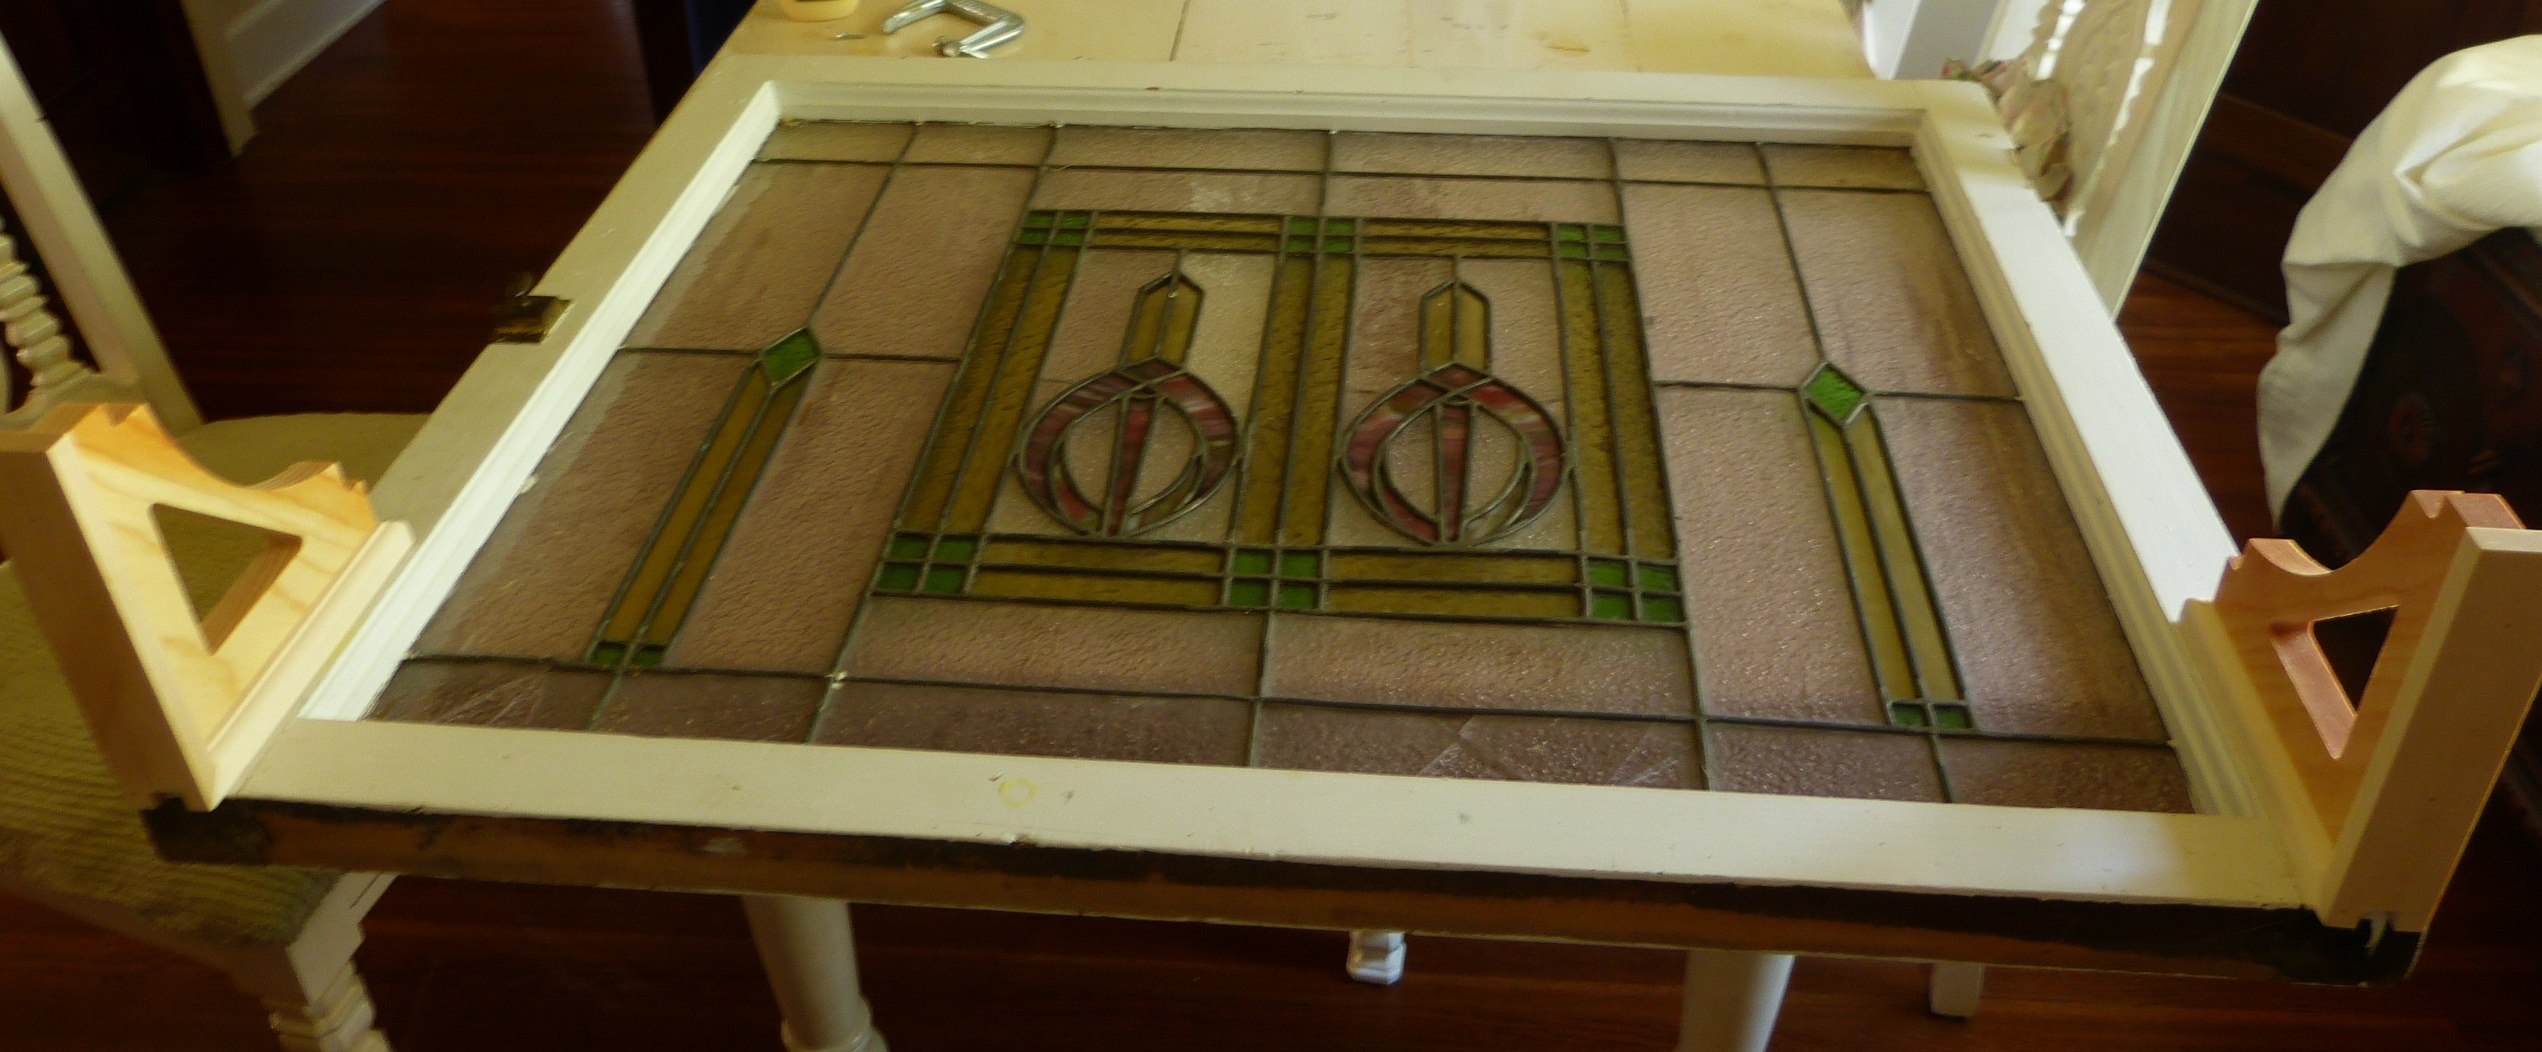
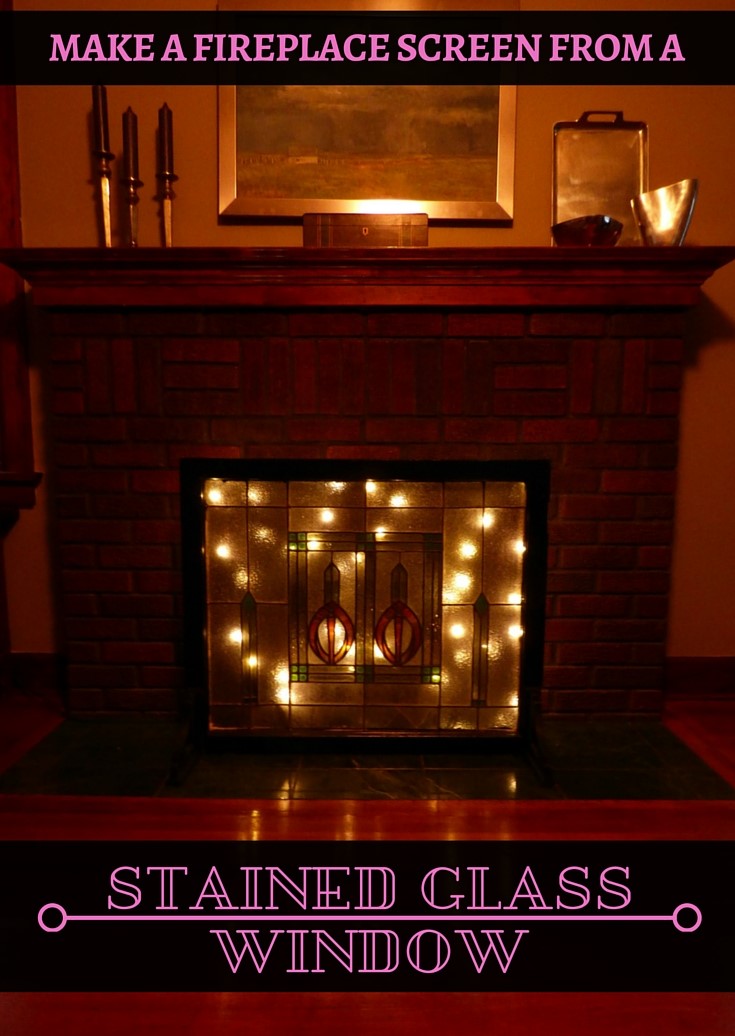
I didn’t particularly like the gas fireplace insert that came with our older home, but a new one was not in the budget.  My next thought was to buy a fireplace screen to cover it up, but they were all expensive, unattractive, or you could see through them, which rather defeated the purpose.  When I fell in love with an old stained glass window in an antique store, I knew that I had to have it, but could it serve as a fireplace screen if I attached some shelf brackets?  I decided to buy it and figure out the “how to” later.

After some thought, the answer came after I bought the shelf brackets and realized that the metal part inside could be unscrewed and turned upside down, such that the large part where the screw was inserted was at the bottom and the smaller part was at the top.  Once the screw was attached to the stained glass window, the window sat on the brackets, even without wood glue.

Shelf Bracket
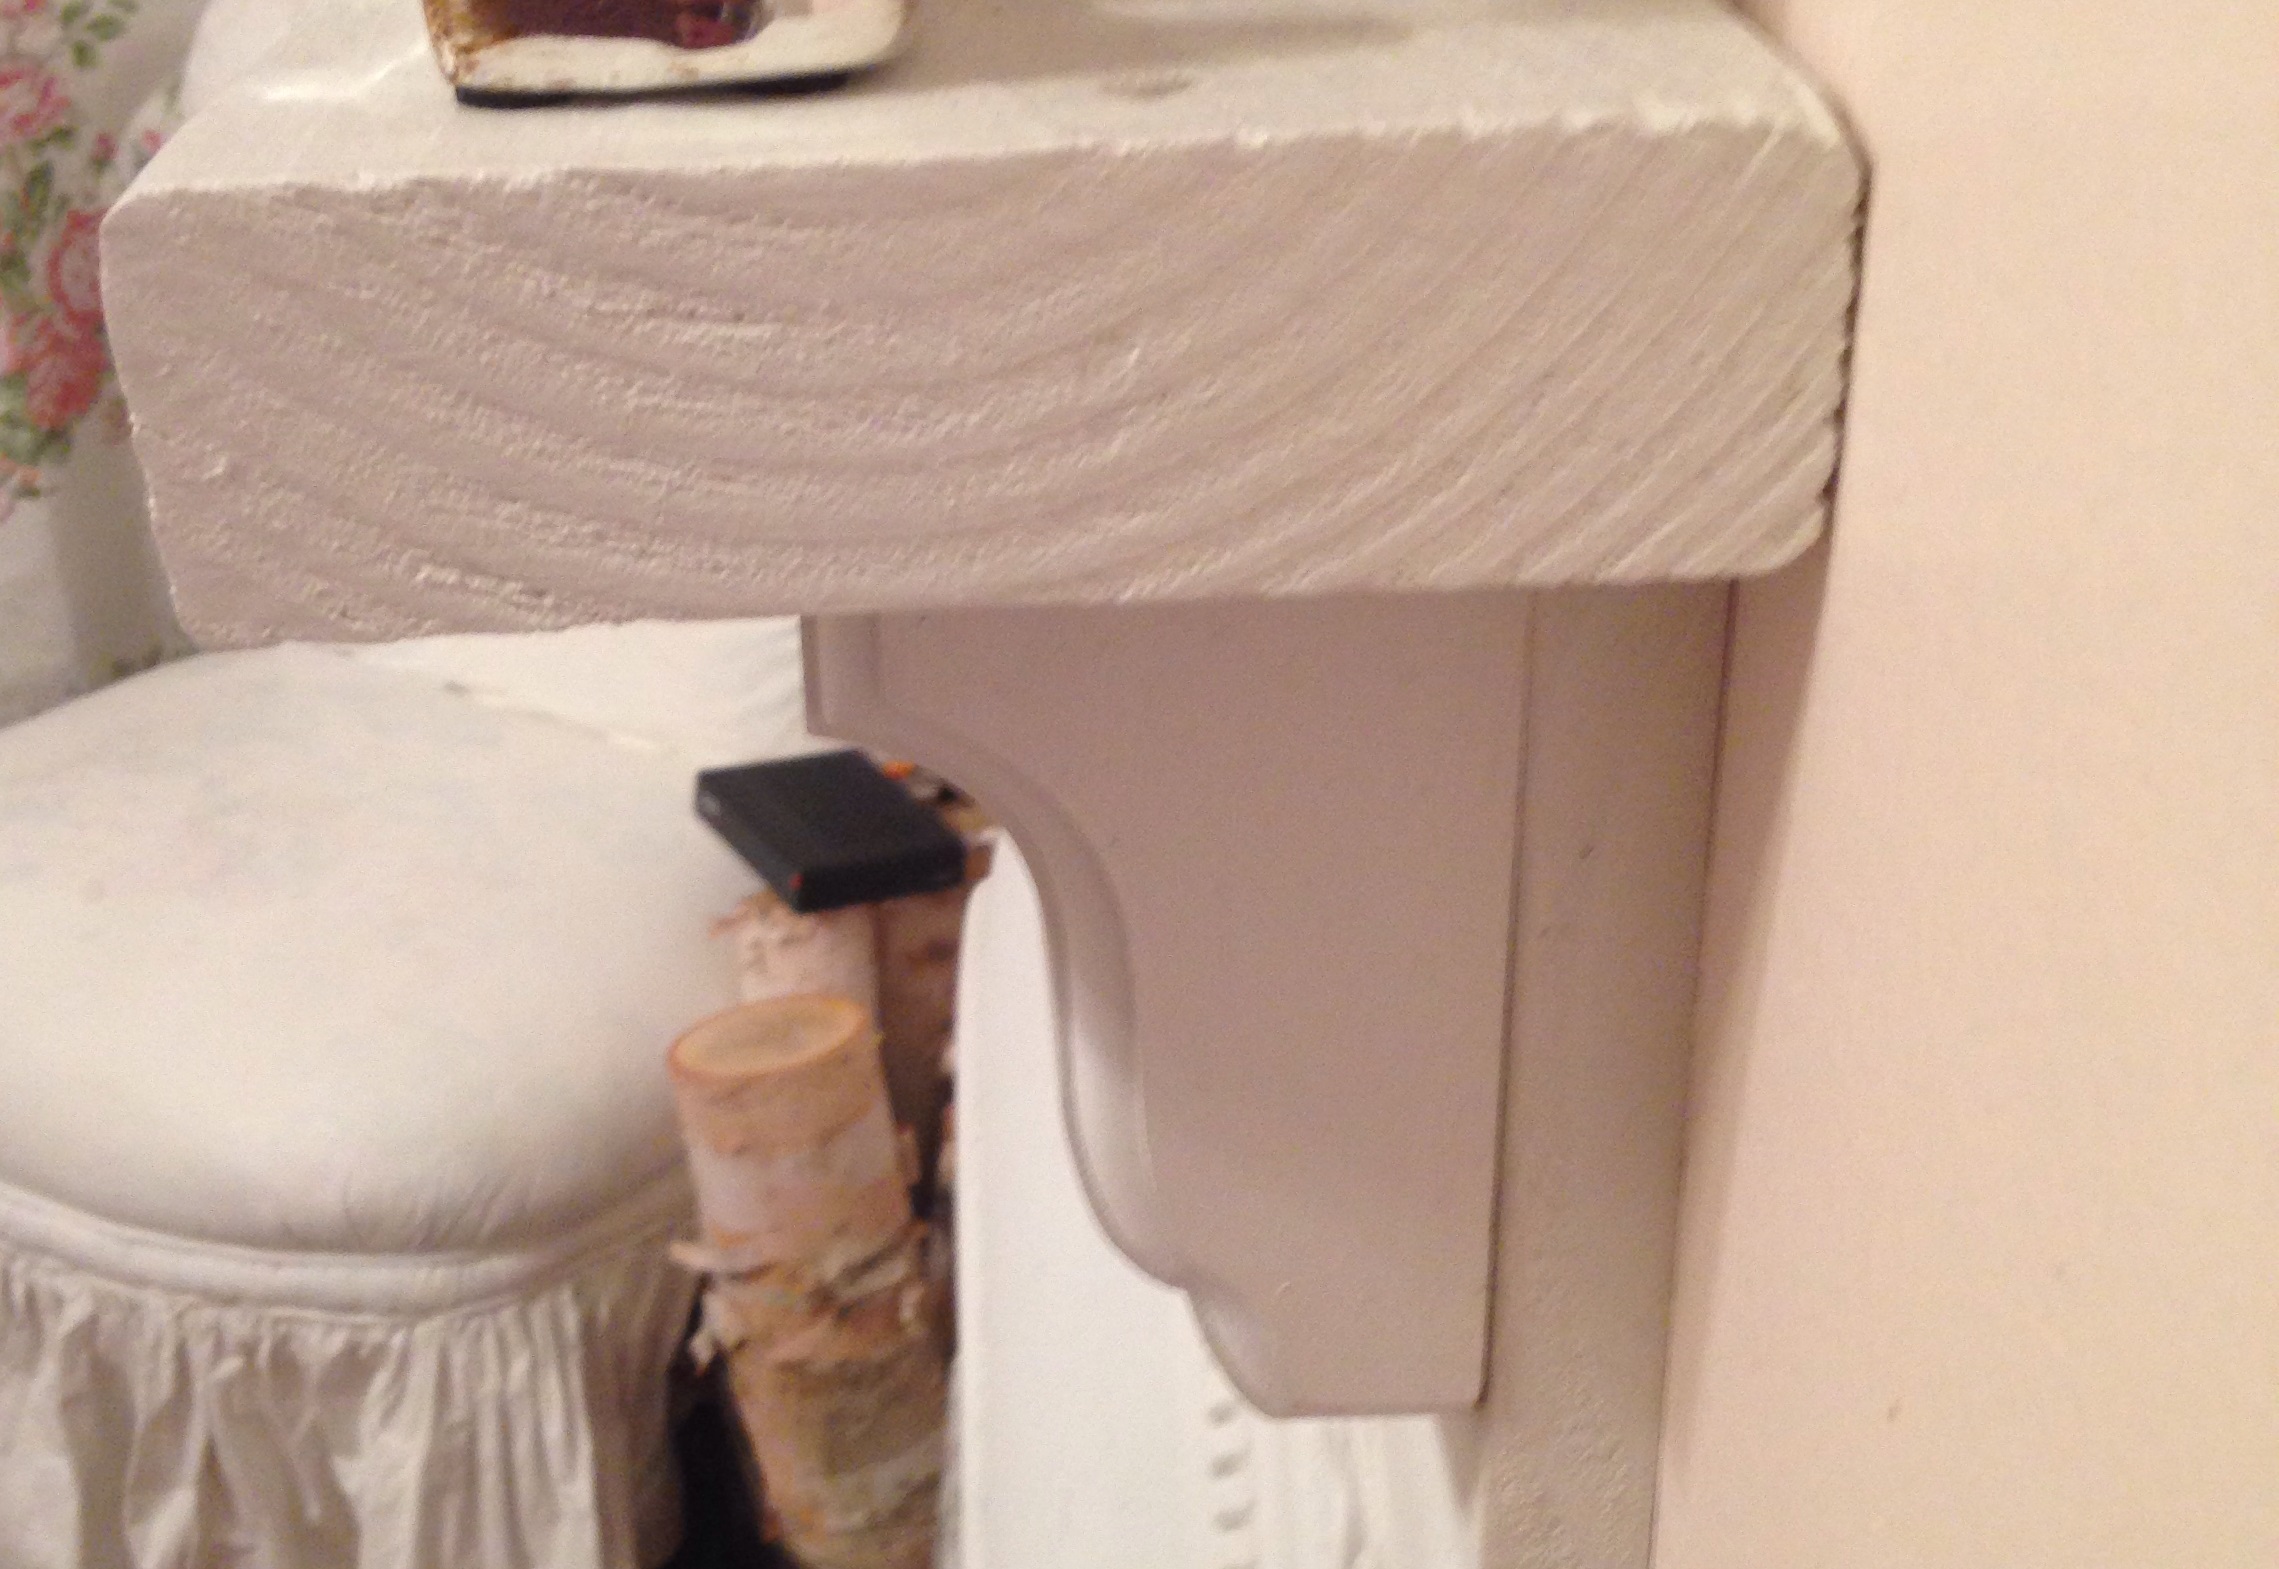
Still, for added strength and stability, I used wood glue and secured the bond with C-clamps to dry overnight.  Incidentally, I chose these particular shelf brackets because the open design would allow me to easily attach the C-clamps.

unpainted stained glass window with brackets

Once the brackets were attached, I taped off the glass and painted all of the wood black.

It should be noted that a fireplace screen such as this should not be placed in front of an open flame.  Our fireplace has a gas insert, so all flames are behind glass.  A fire lit up the stained glass, but we just don’t light our fireplace all that often.  I eventually tried Christmas lights hung on a couple of nails behind the glass.  Much better!

The warm lights give the room a nice amber glow at night.

Stained Glass Fireplace Screen with Christmas lights

Please click here for a printable list of tools, materials, and instructions.

Happy Decorating!

Some posts on this site include affiliate links. If you click on a link and make a purchase, we may earn a small commission at no extra cost to you. This commission allows us to avoid banner ads and popups. Please know that the opinions expressed are entirely our own.

EPSON MFP image
Make a Fireplace Screen from a Stained Glass Window

Some posts on this site include affiliate links. If you click on a link and make a purchase, we may earn a small commission at no extra cost to you. Please know that the opinions expressed are entirely our own.